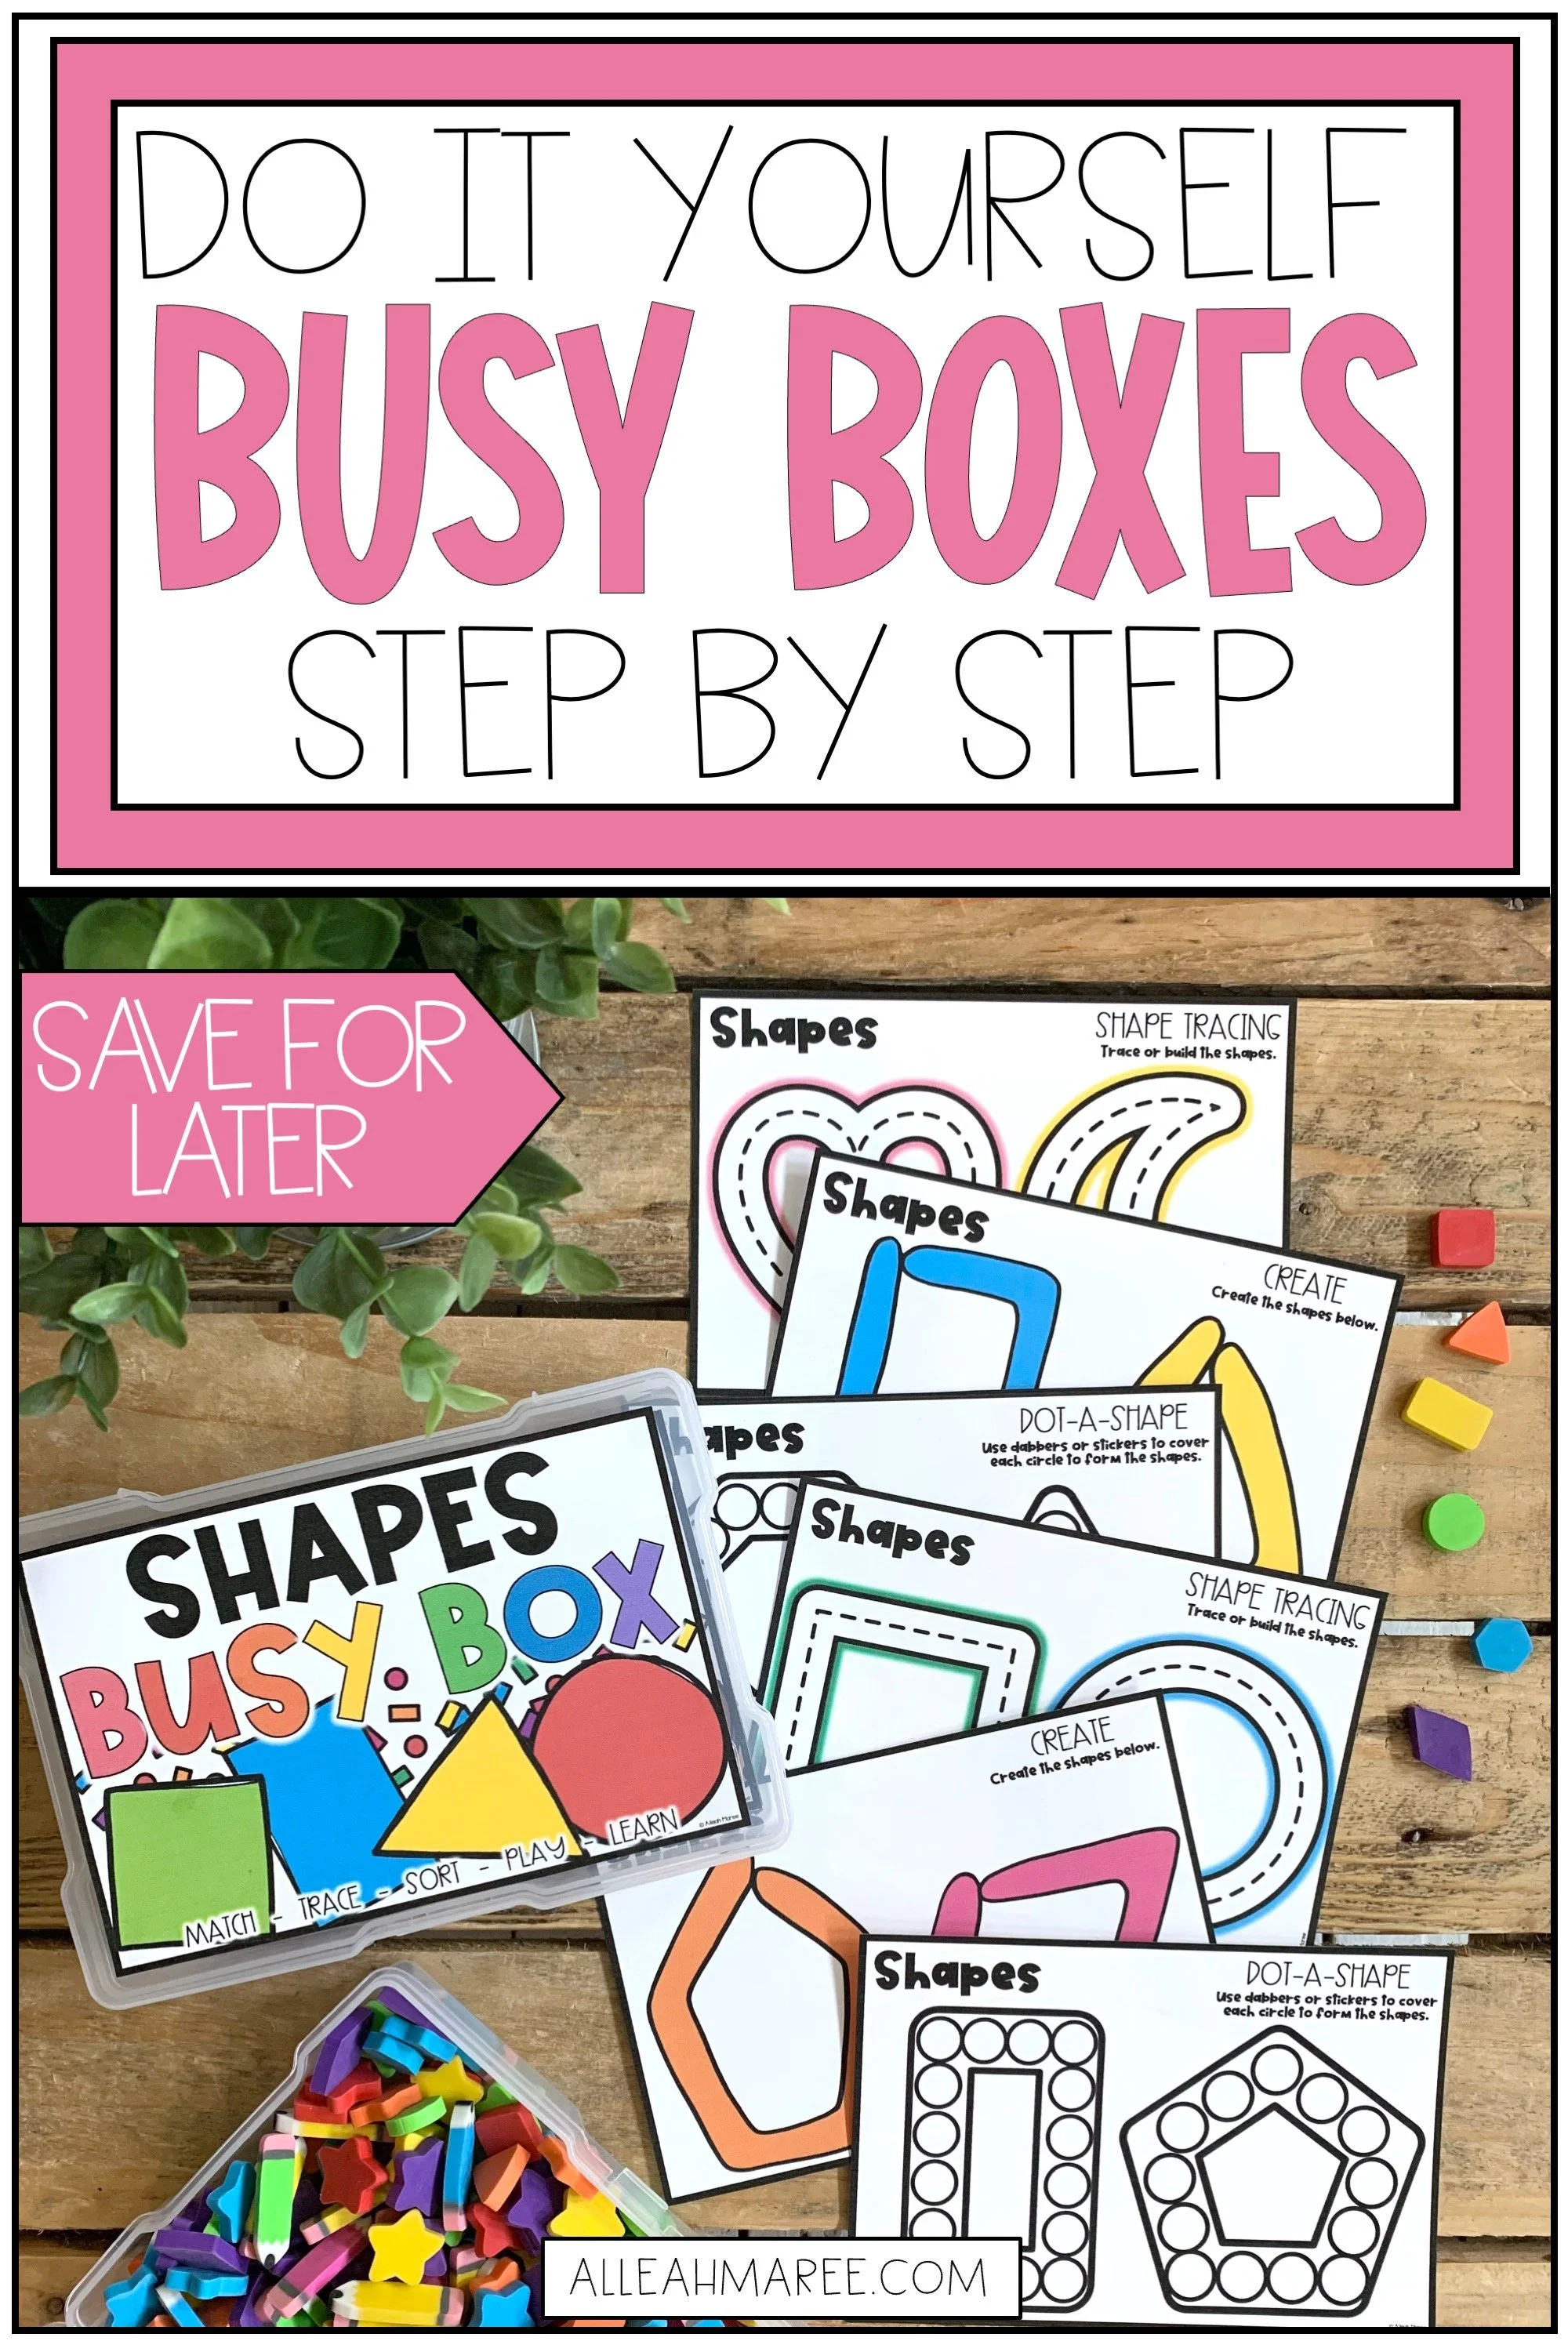
How to Set Up Busy Boxes for Toddlers and Preschoolers (Easy Setup Guide + Activity Ideas)
Busy boxes are one of the easiest ways to create independent learning activities for toddlers and preschoolers. These simple activity boxes help little learners practice skills like matching, fine motor development, letters, numbers, and problem-solving while keeping them engaged.
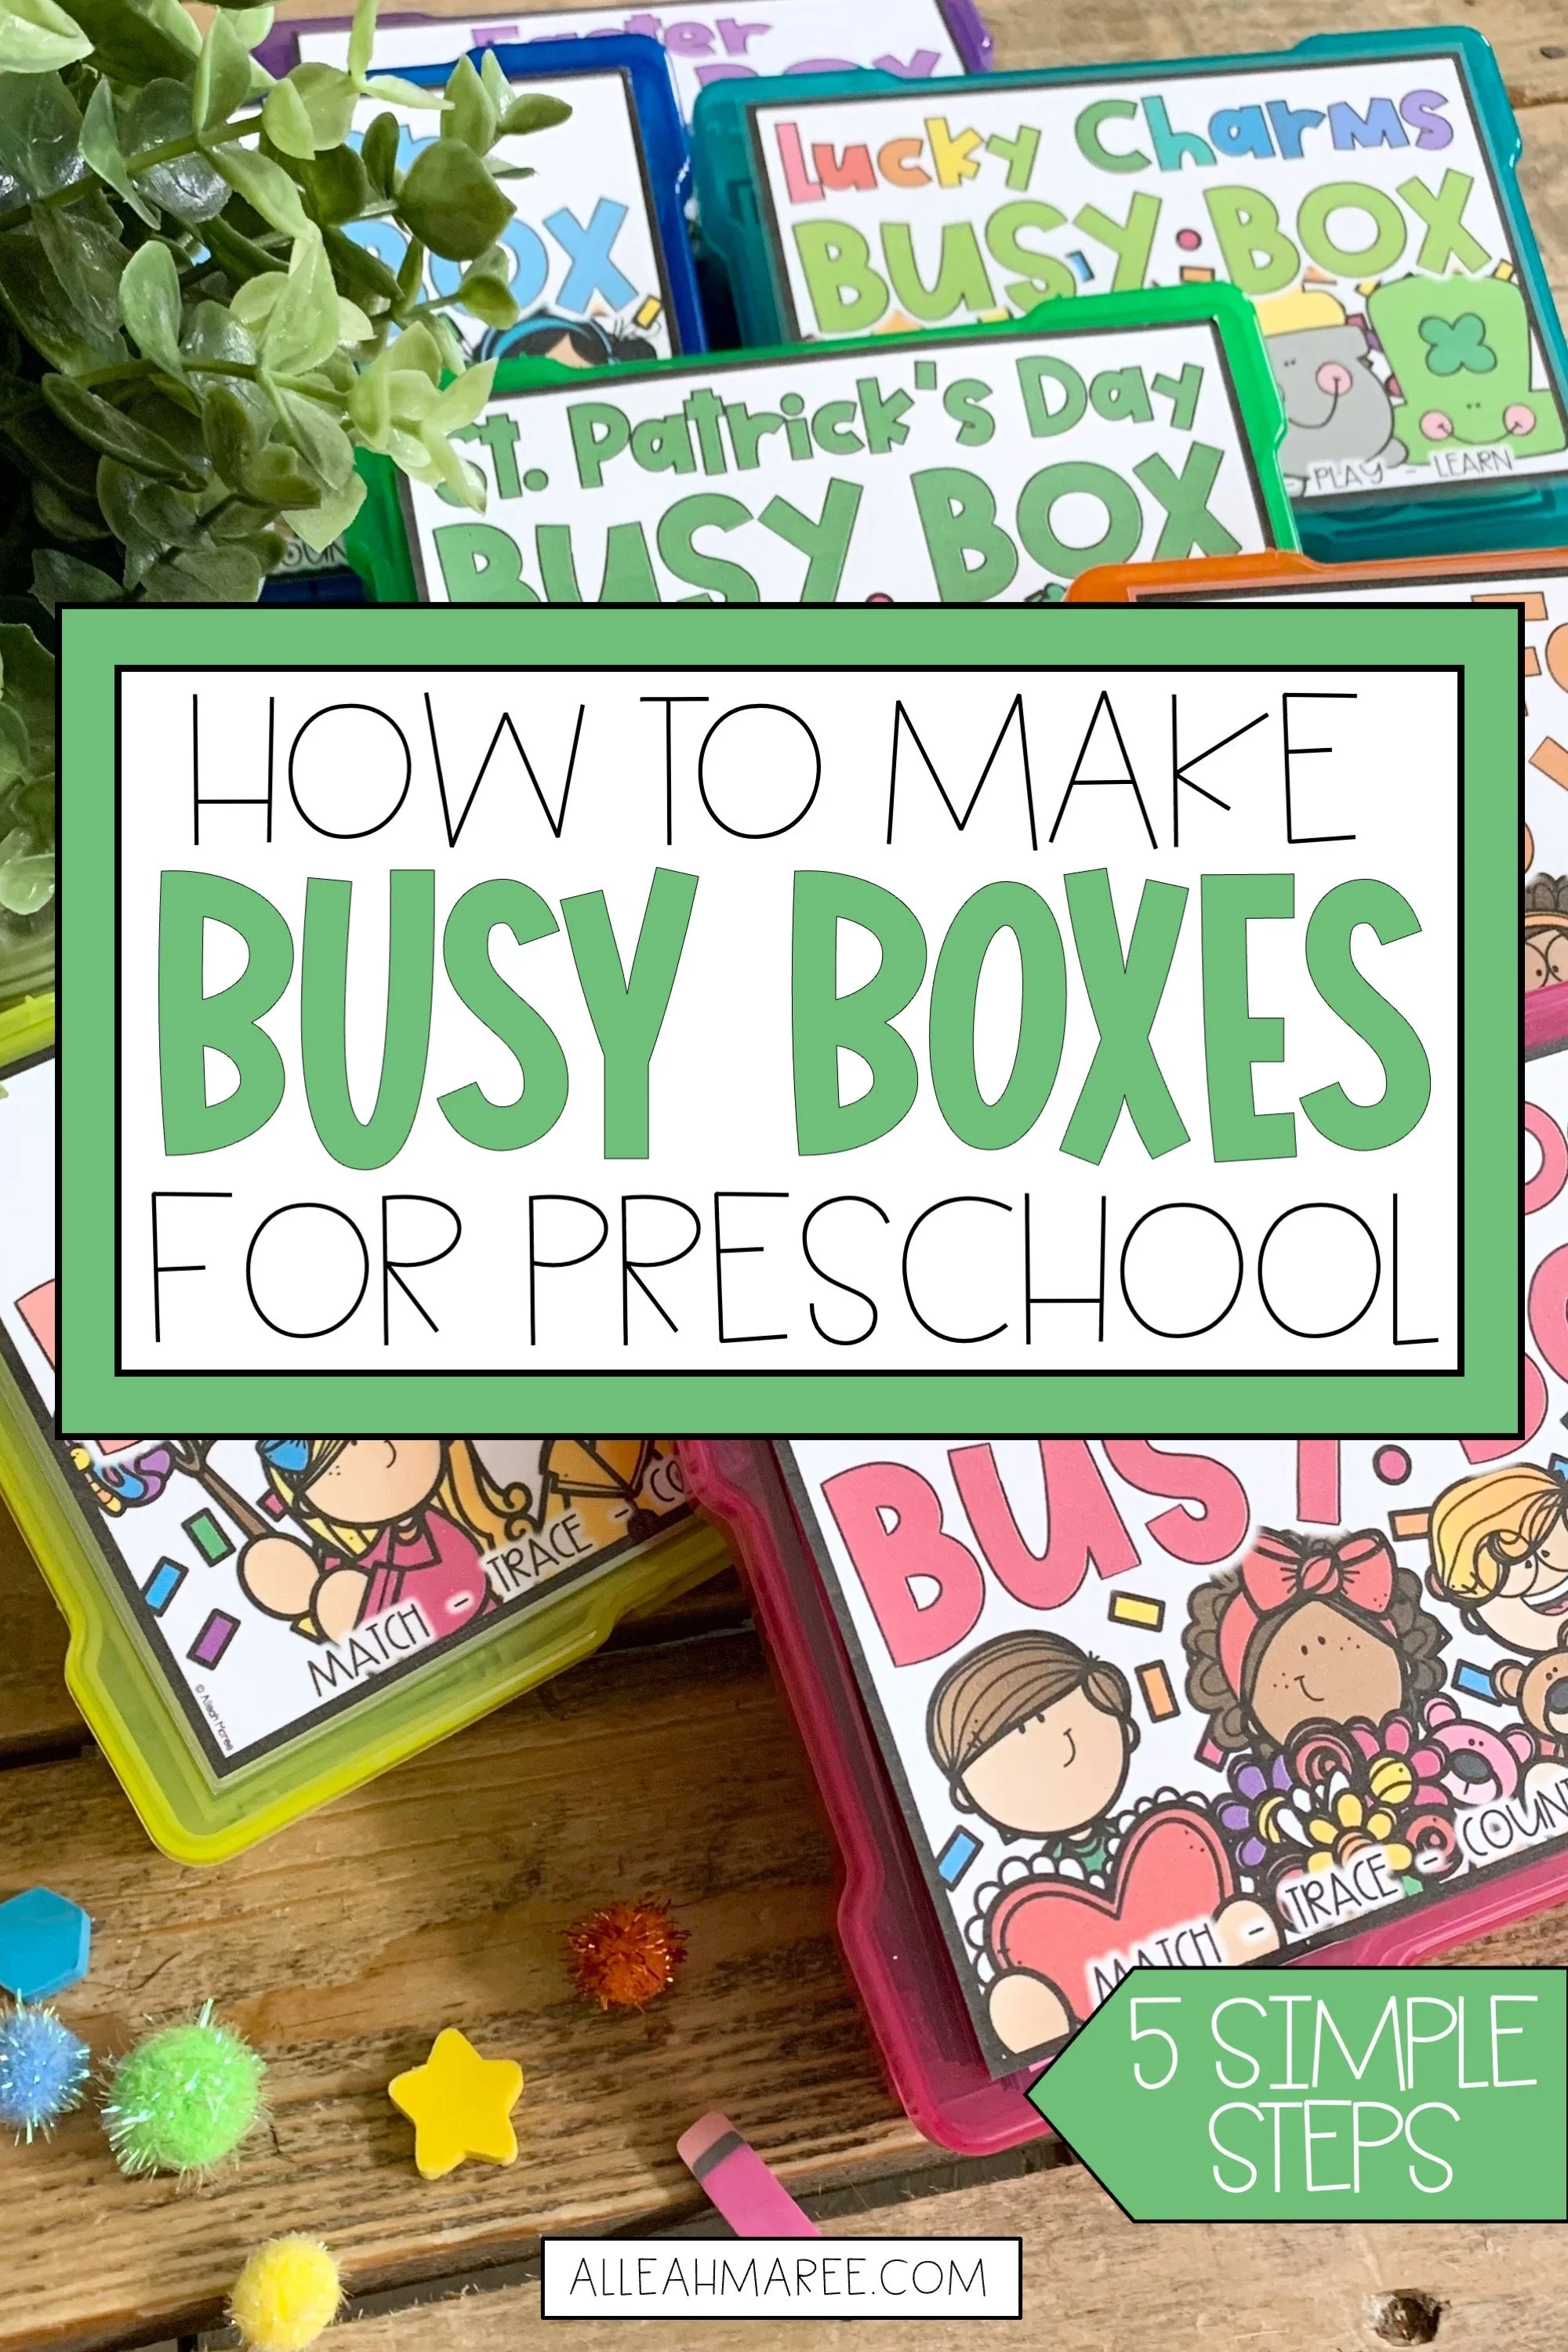
In this guide, I’ll show you exactly how to set up busy boxes step-by-step, including materials you need, how to organize them, and tips for using them at home or in the classroom.
** This post contains affiliate links. If you purchase any of the products I already love and am linking for you, I’ll receive a small percentage of the profit that the website makes from your purchase at no extra cost to you. :) Such a win-win-win! **
What Are Busy Boxes?
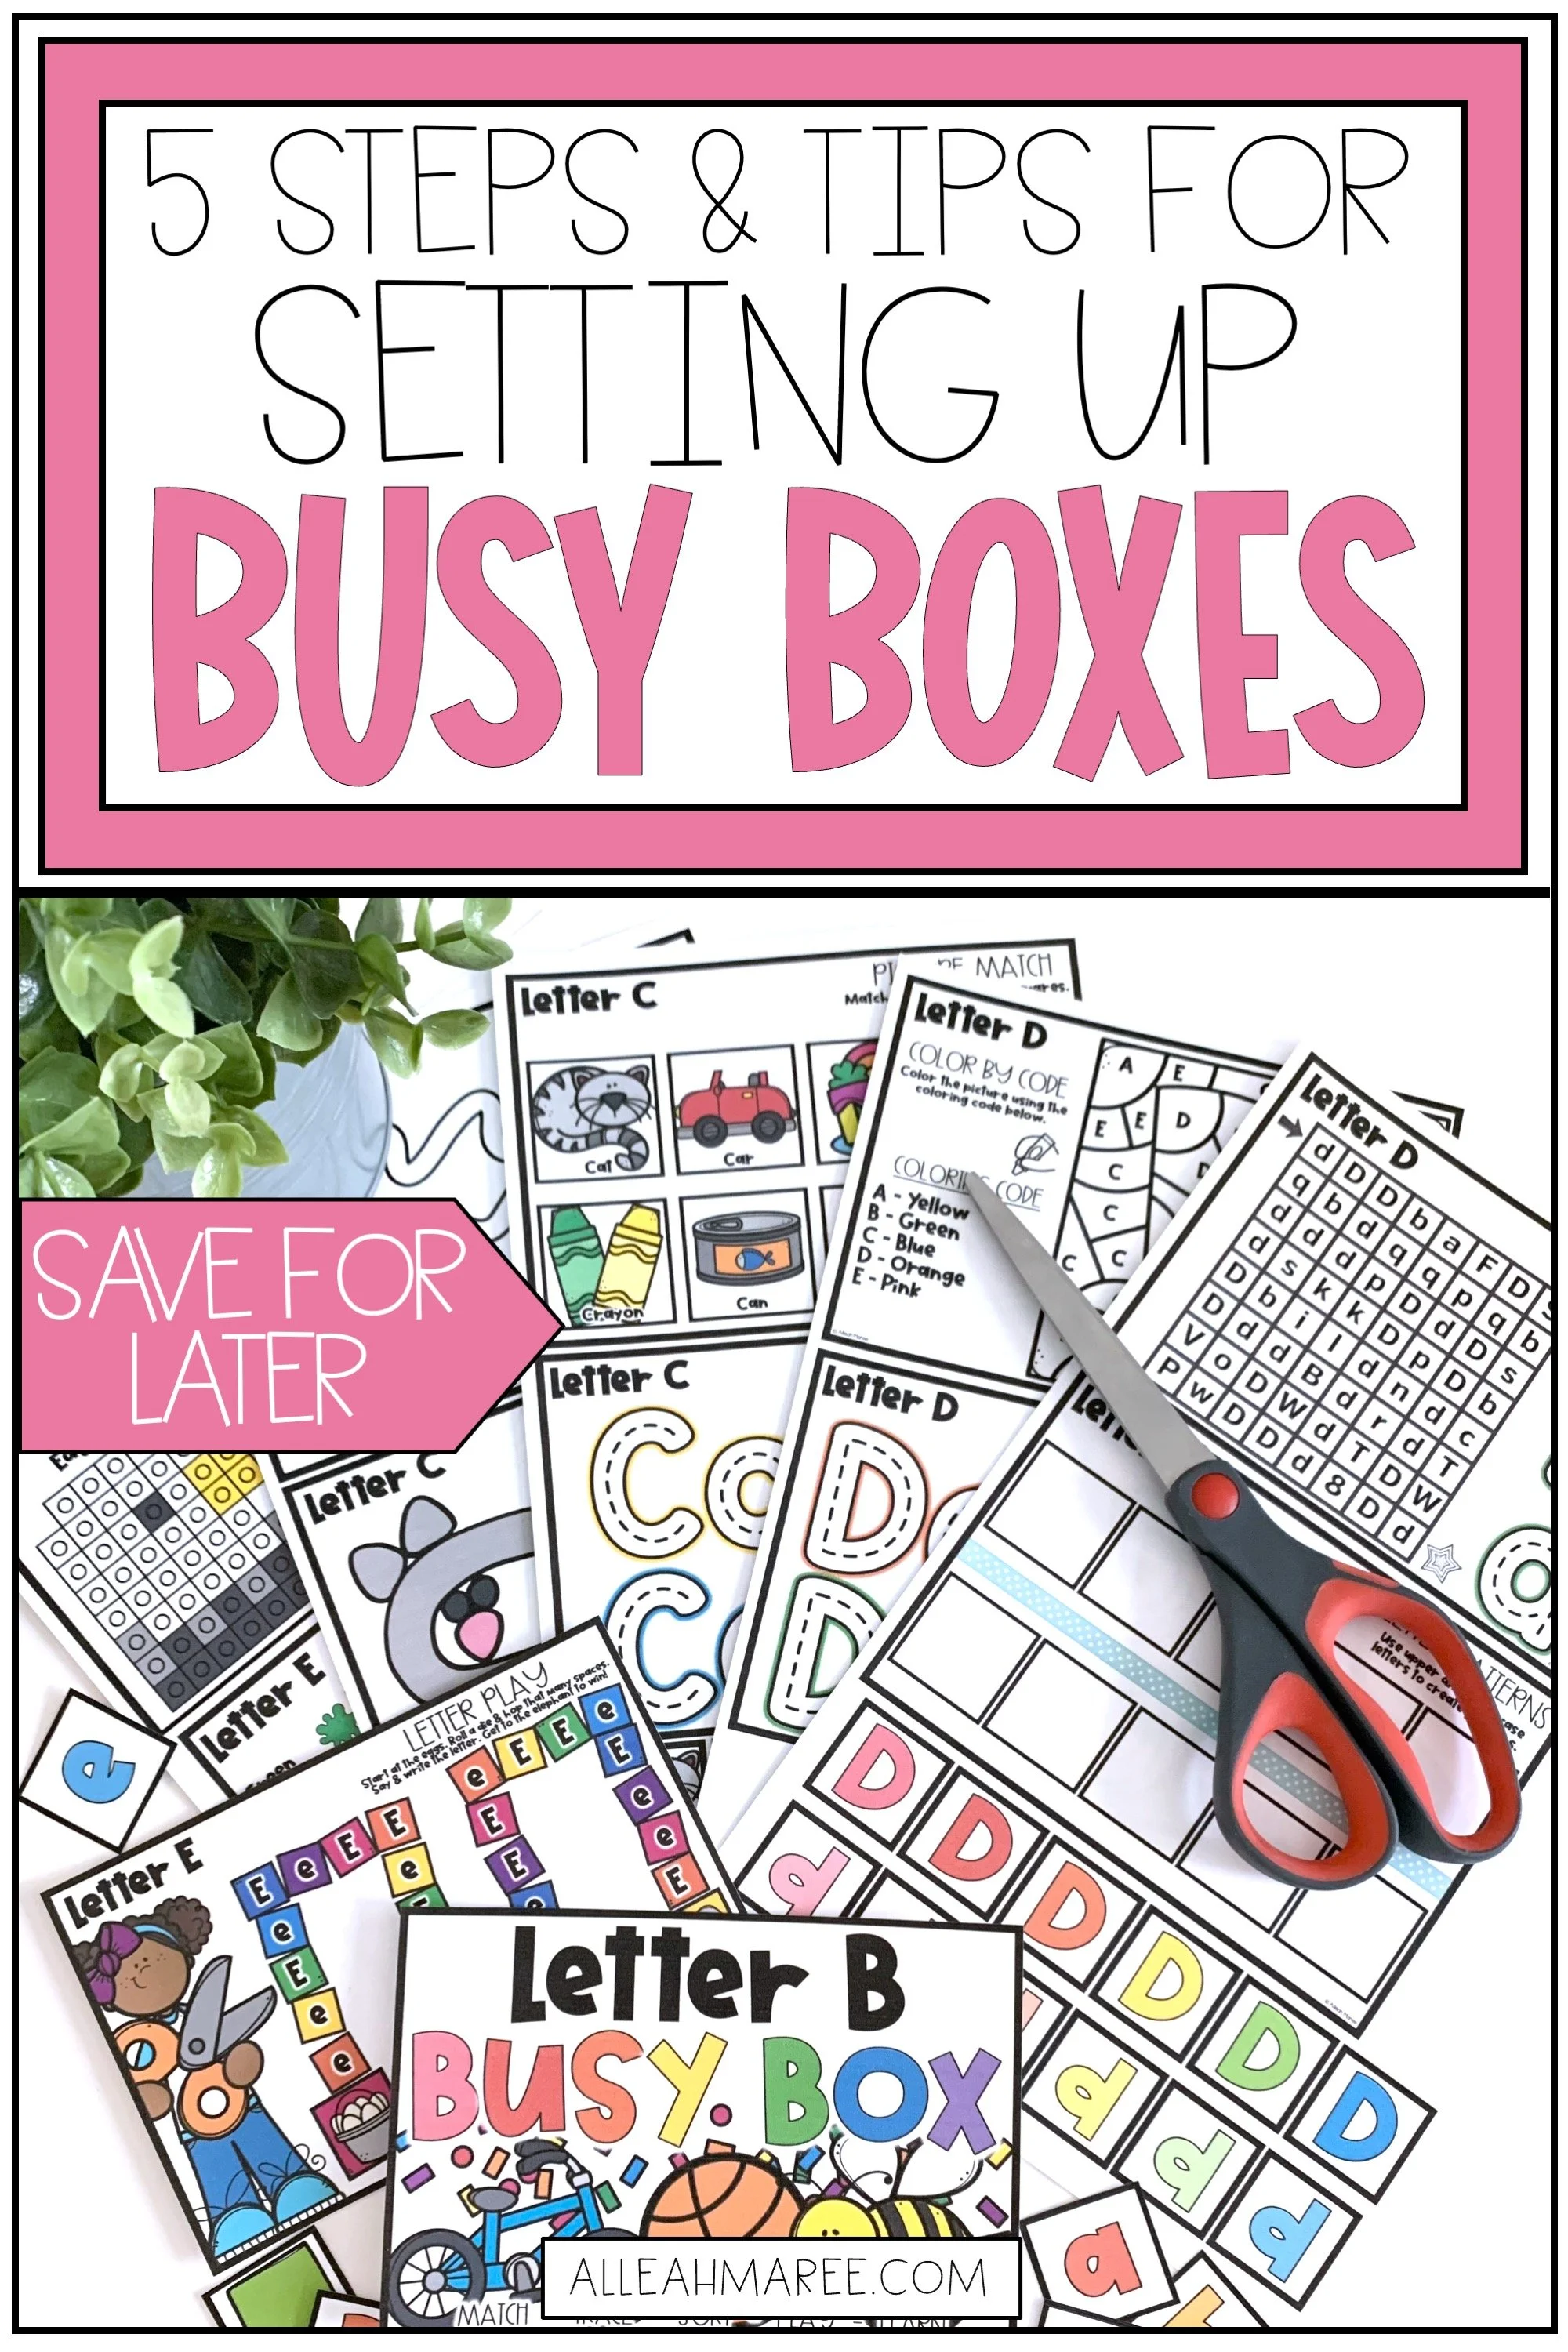
Busy Boxes are learning activities for toddlers and preschoolers that fit into 4x6 photo boxes. The activity mats, corresponding pieces, and any supplies you need (like dry erase markers, crayons, mini erasers, or other small manipulatives) are contained in the box.
Benefits of Busy Boxes for Toddlers and Preschoolers
Busy boxes are a simple but powerful learning tool that support young children’s development while encouraging independent play. Here are some of the biggest benefits.
1. Encourage Independent Play
Busy boxes give toddlers and preschoolers activities they can complete on their own. This helps children practice independent problem-solving and learn to focus without constant adult help.
2. Build Fine Motor Skills
Many busy box activities involve picking up small objects, sorting pieces, tracing, or matching cards. These tasks strengthen the small muscles in children’s hands and fingers, which are important for skills like writing, cutting, and buttoning clothes.
3. Support Early Learning Skills
Busy boxes can be designed to practice important preschool concepts such as:
letter recognition
number recognition
colors and shapes
matching and sorting
beginning sounds
Because the activities are hands-on, children often learn these concepts more easily.
4. Improve Focus and Attention
Short, structured activities help toddlers and preschoolers practice staying engaged with a task. Over time, this can increase their attention span and ability to complete activities from start to finish.
5. Reduce Screen Time
Busy boxes provide a screen-free option for keeping young children entertained and learning at the same time. They are great to pull out when you need your child occupied while you cook, work, or complete household tasks.
6. Make Learning Feel Like Play
Because busy boxes use colorful materials and interactive pieces, children experience learning as fun and playful rather than structured lessons.
7. Easy to Rotate and Refresh
One of the best parts of busy boxes is that you can rotate activities regularly. Changing out the boxes keeps them exciting and helps children stay interested in the activities.
8. Perfect for Quiet Time or Travel
Busy boxes are portable and organized, making them ideal for:
quiet time at home
waiting rooms
travel activities
church or appointments
They keep kids engaged without needing a lot of space.
Materials You Need to Make Busy Boxes
Step one is to buy all the things you need to create your busy boxes!
You’ll need the following things to set up your boxes:
How to Set Up Busy Boxes (Step-by-Step)
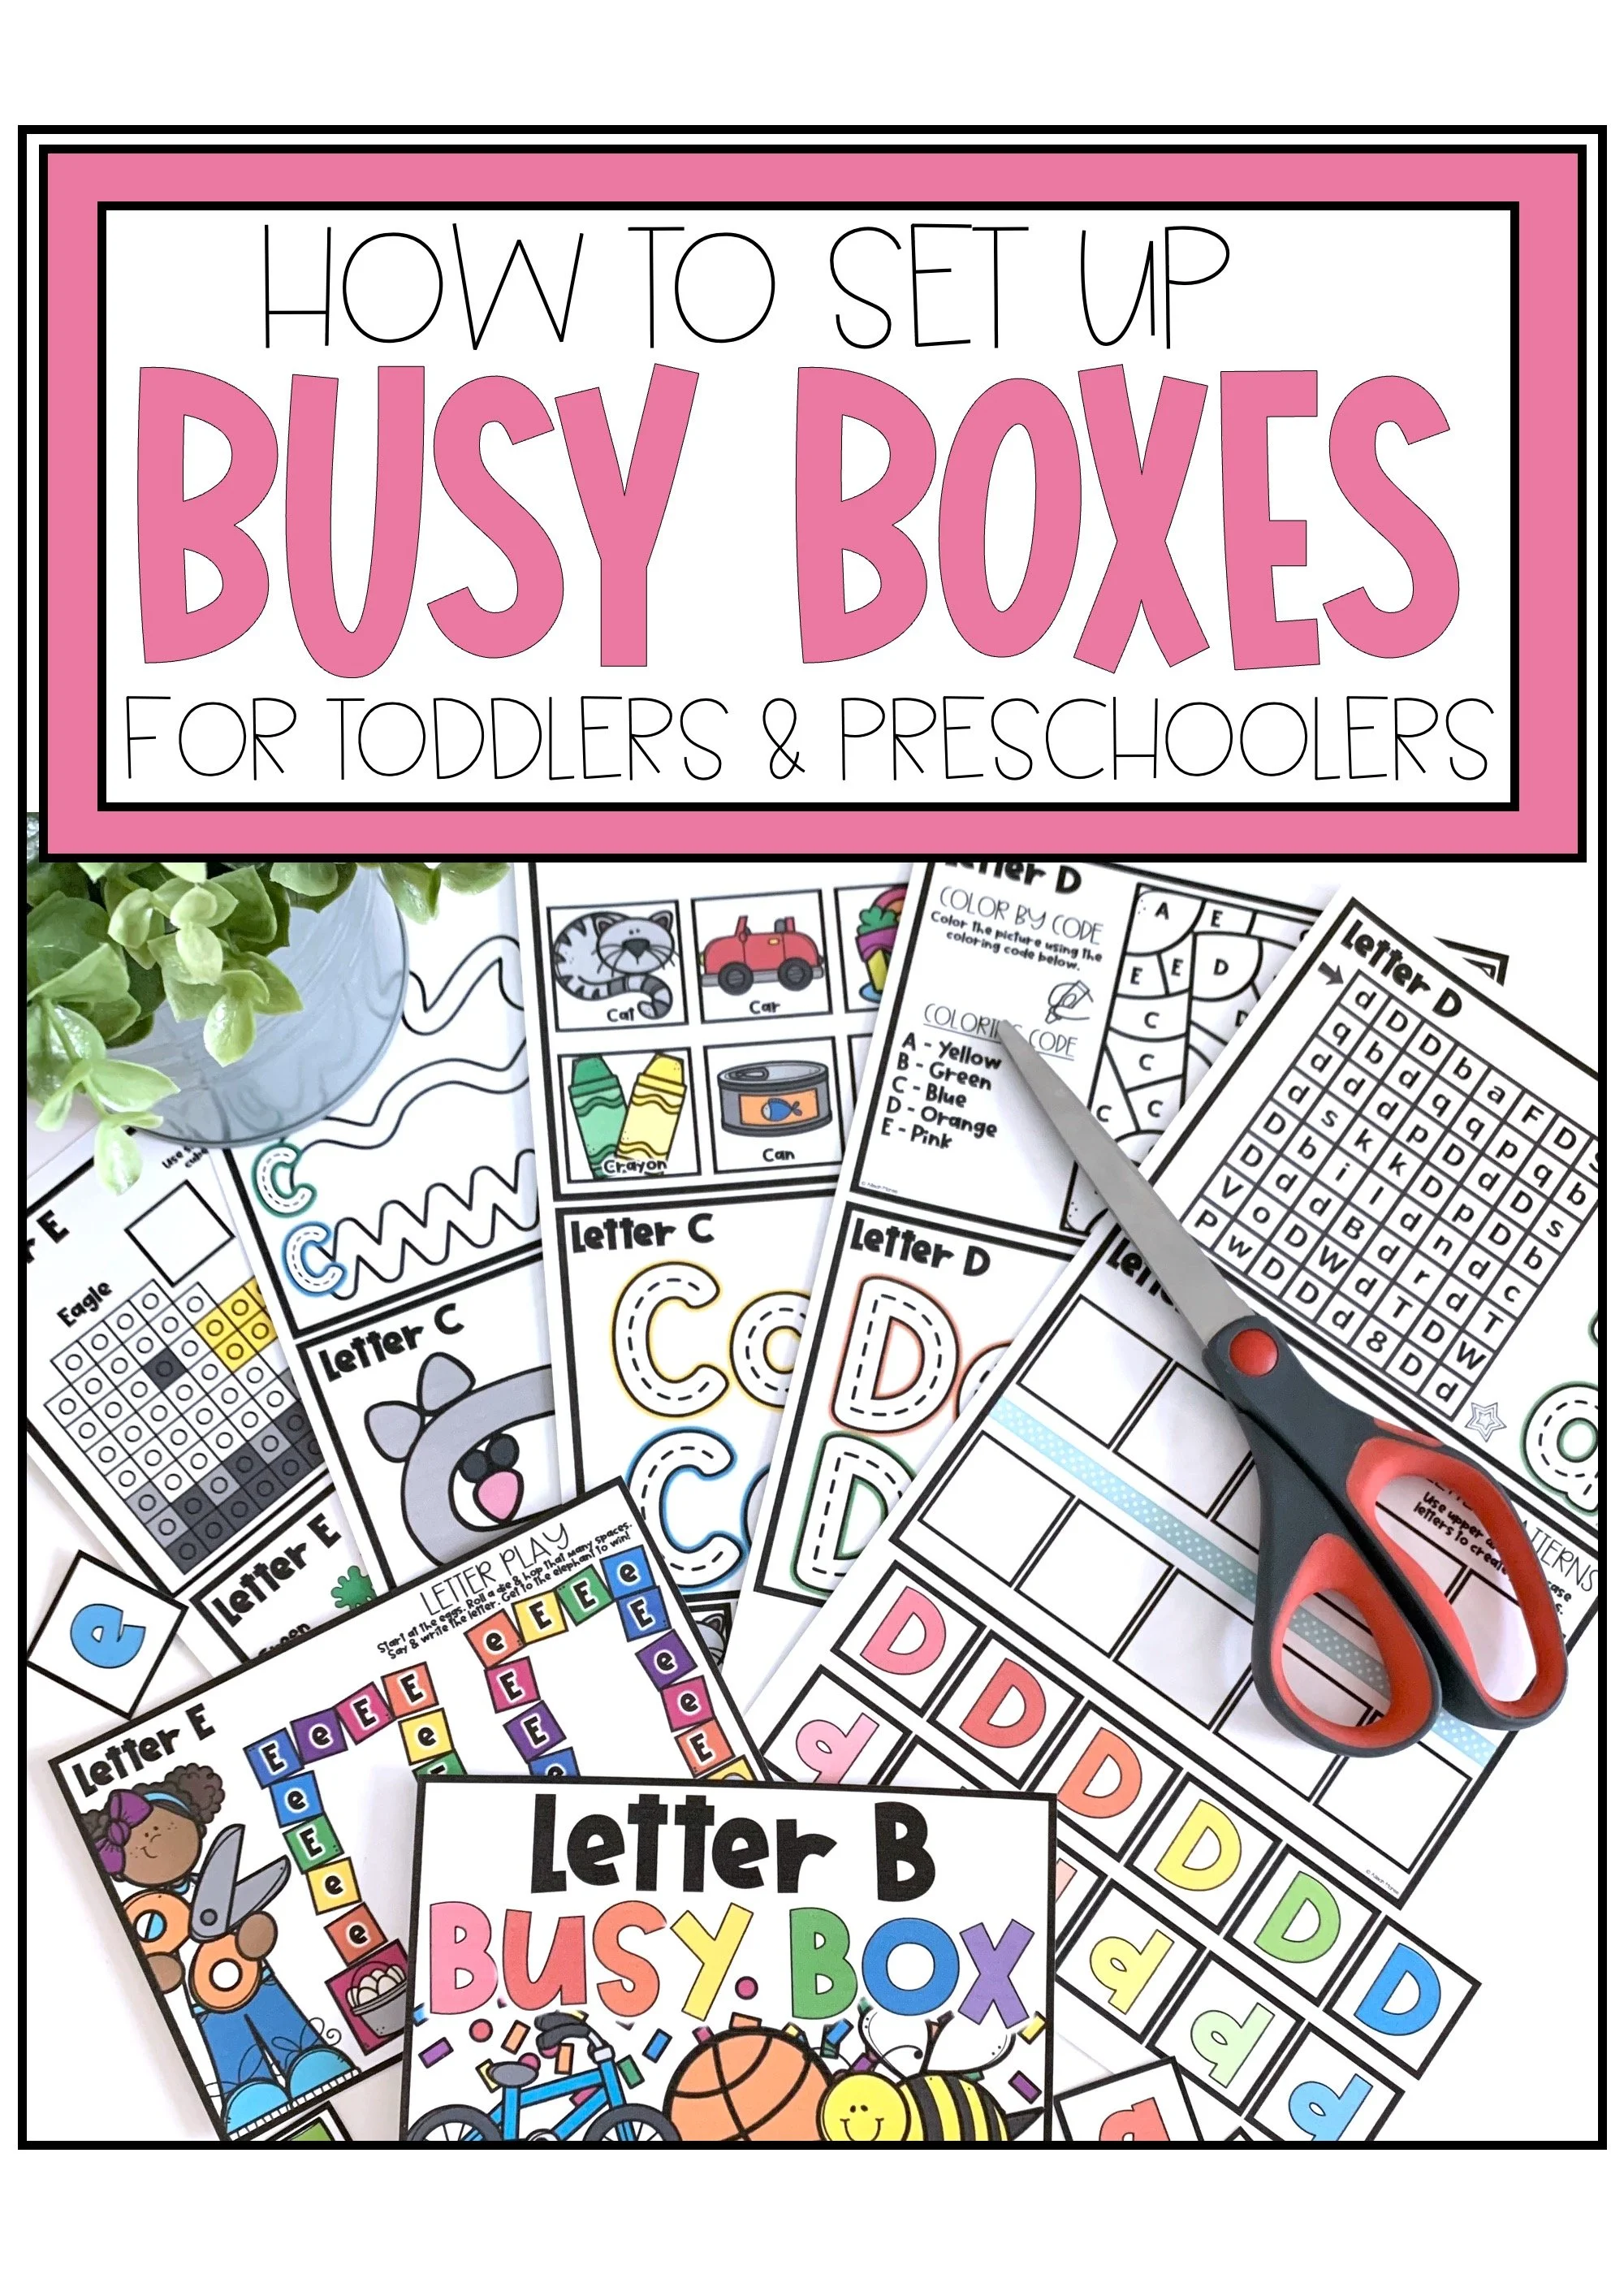
Print your activity pages
After you purchase the busy box activities you need, print them out at home or at your closest office store. I like to print mine in color because it makes them more engaging and interesting for little ones in my opinion, but you can definitely print them in black and white if you choose to.
Cut out mats and cards
Cut out all the mats (larger rectangles) and the small cards. You can also use manipulatives, like magnetic letters, letter tiles, or pattern blocks, if you don’t want to use the cards included in the resources.
Mini erasers, pom poms, and other small objects, like goldfish or cereal pieces are other creative ideas you could use too!
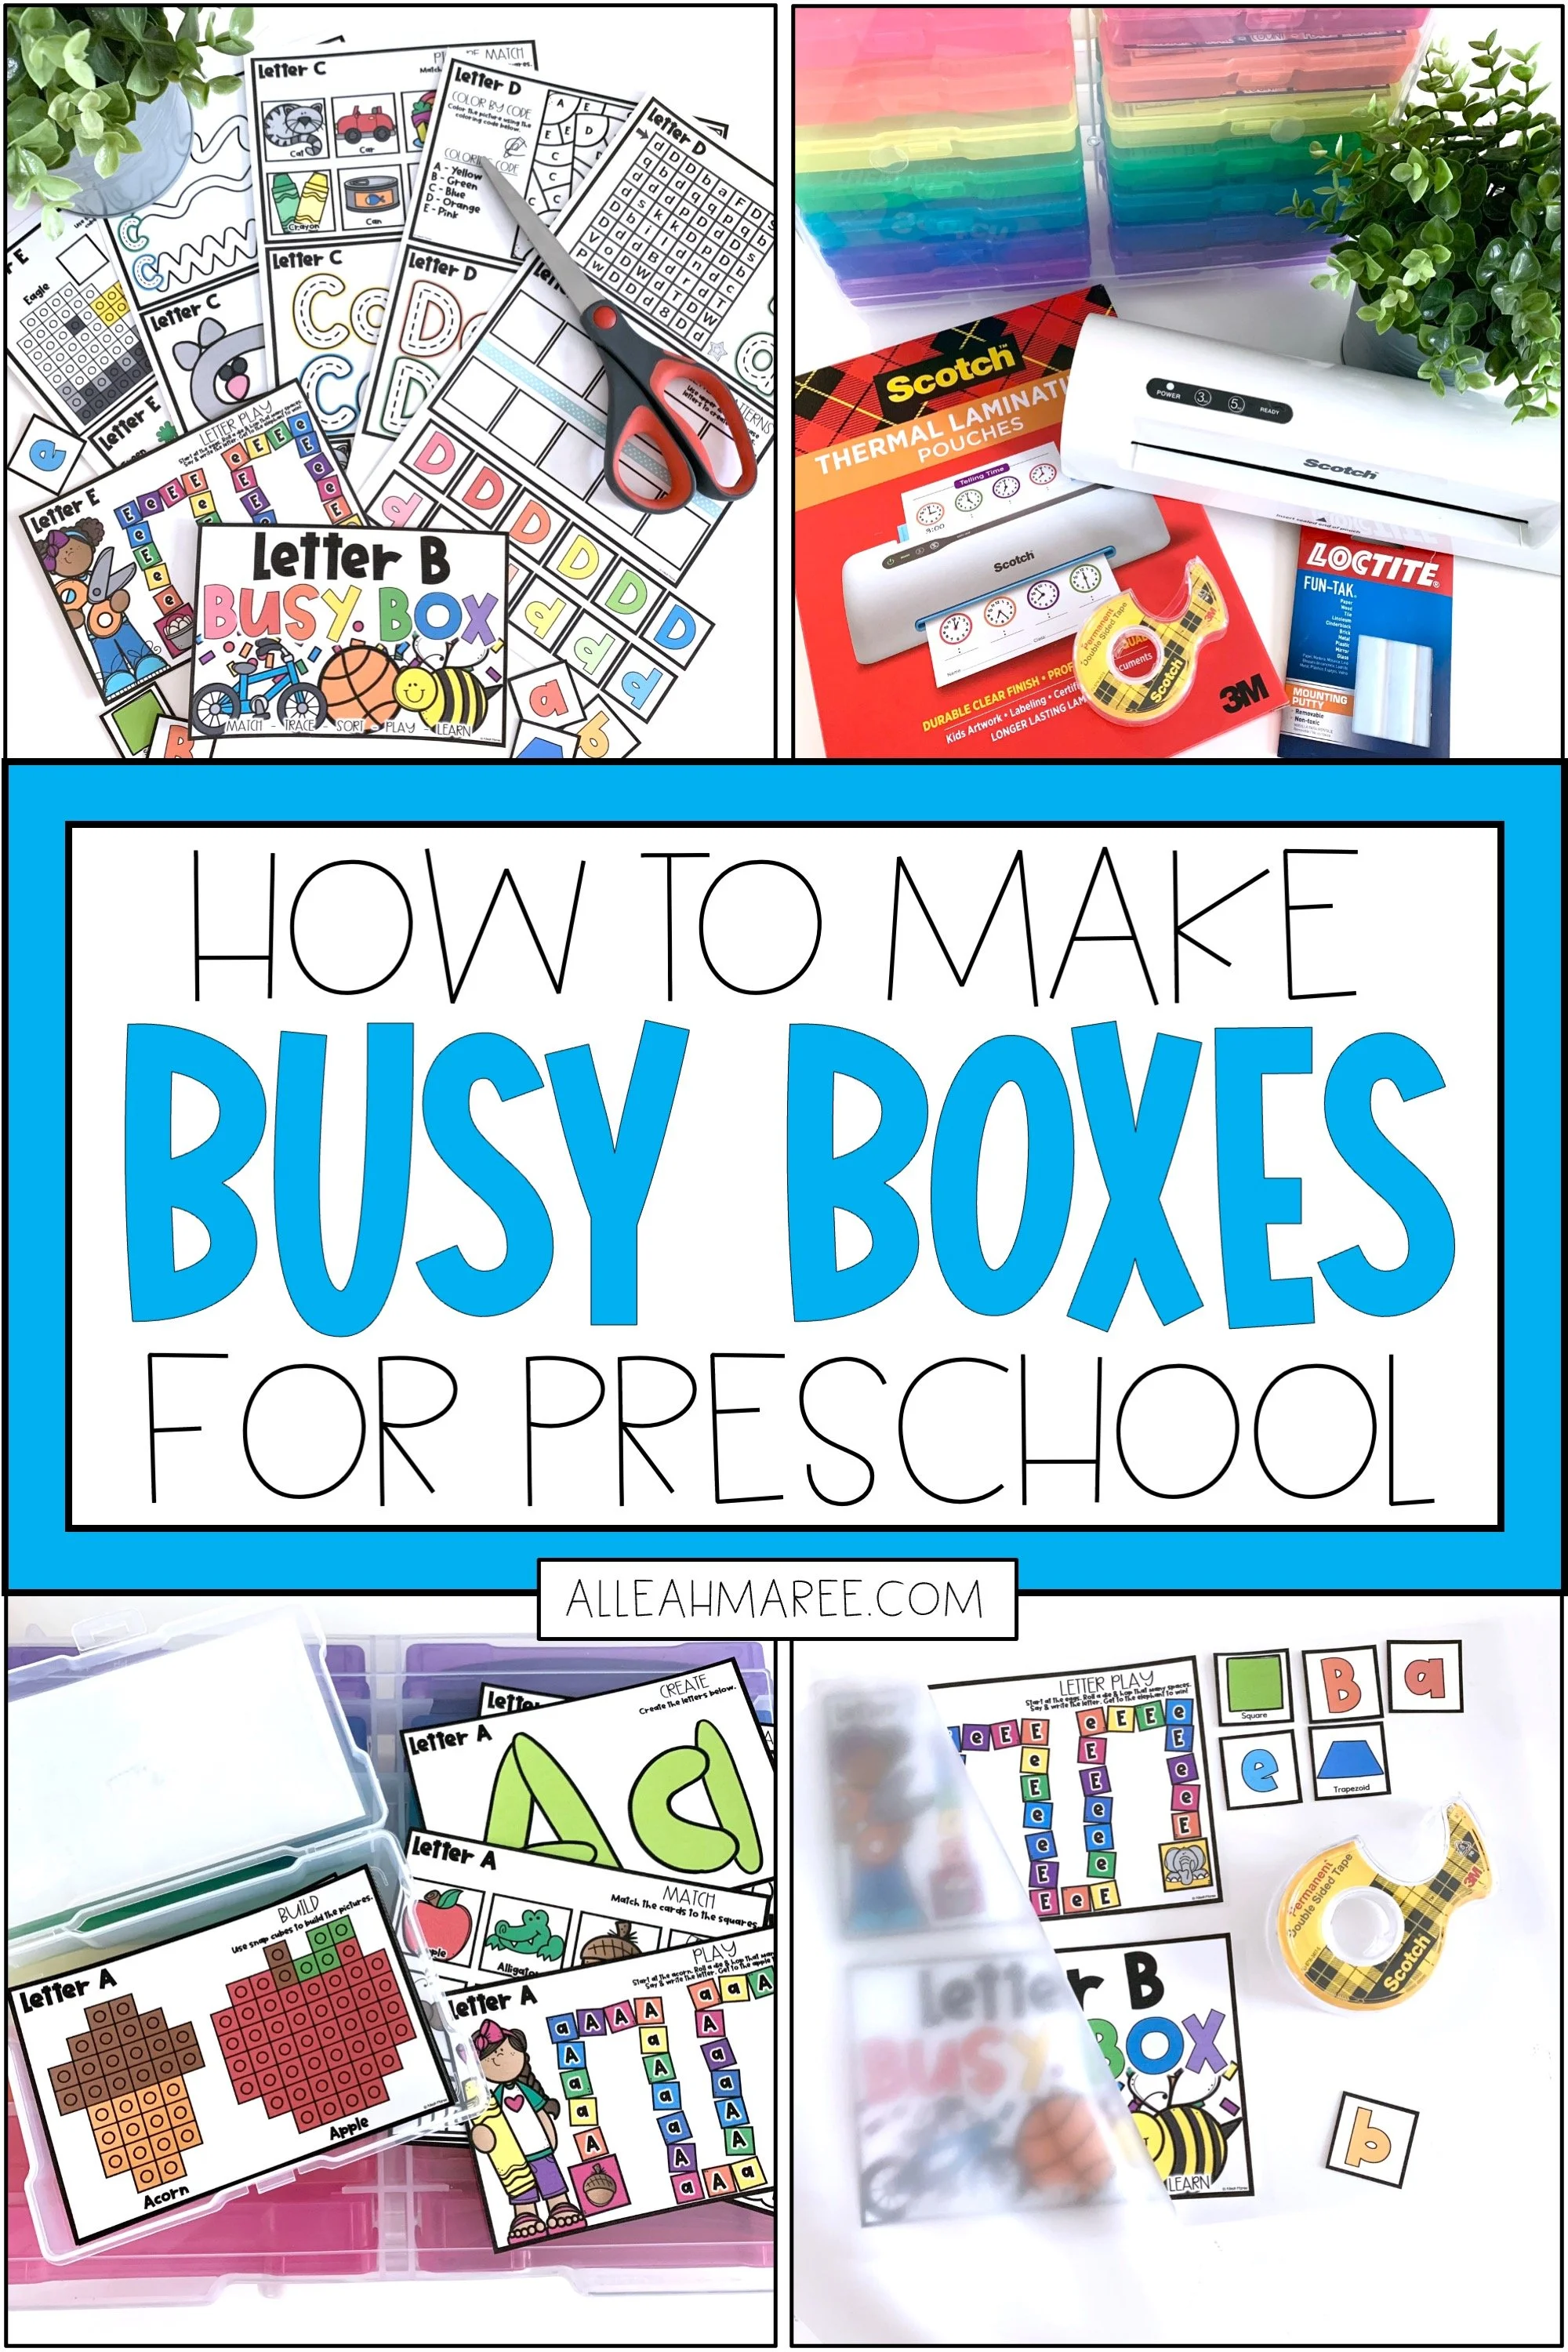
Laminate materials
Laminating each piece of your busy box is an “optional” step, but I highly recommend it. Laminating helps the pieces to stay neat and sturdy when attaching and pulling from the mats.
LAMINATING TIP: Use double-sided tape to secure each piece to the inside of the laminating pouch. This way, nothing slides around in the pouch while getting put into the laminator. 👍🏻
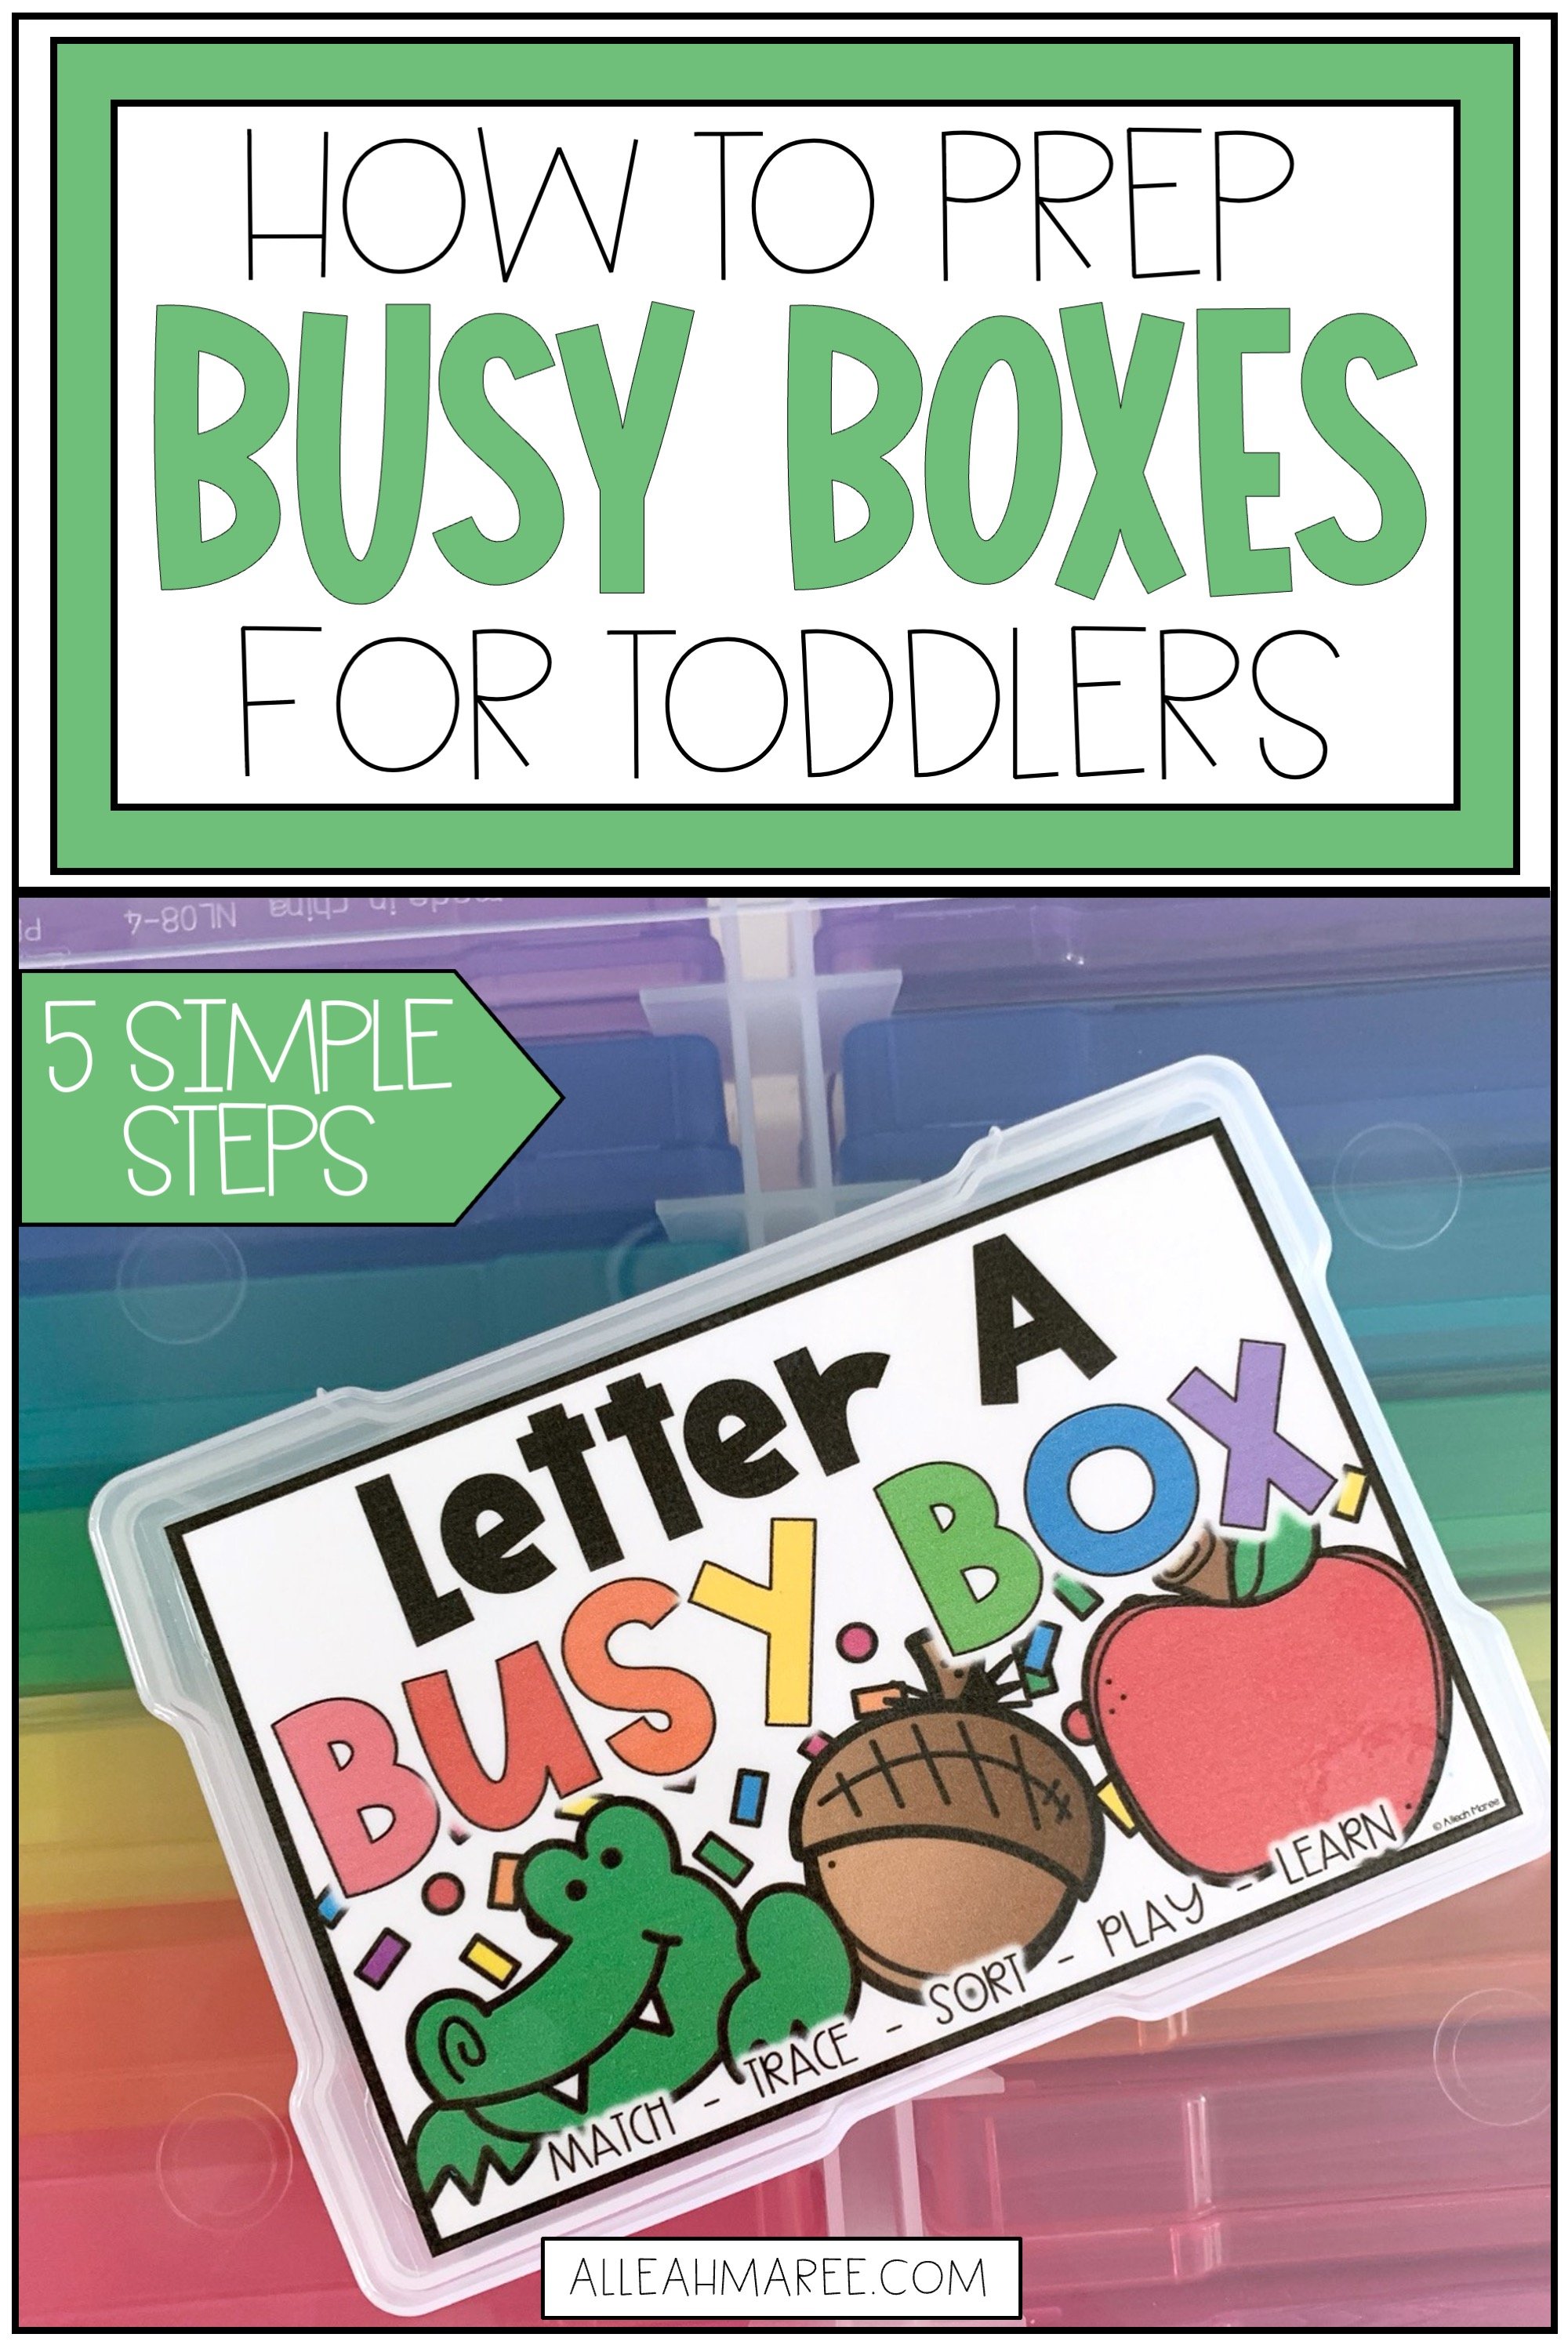
Organize your photo box
Attach the cover to a photo box using double sided tape or a hot glue gun.
To keep things organized, I suggest stacking all the cards that go with each mat on top of the mat they correspond with. Then, when I pull out each activity, the cards are sitting on top of the mat and are ready to use right away.
We use sticky tack putty to attach the cards to the mats where they belong. This is WAY cheaper than using velcro for EVERY space where a card needs to be attached, it can be used many times, and it helps all the mats fit into the photo box without being too bulky.
Introduce activities to your child
Lastly, model and show how each activity is completed for your kids to see. I recommend introducing only one or two activities at a time and allowing your little ones to practice them often on their own before introducing a new one.
Busy Box Ideas for Toddlers and Preschoolers
If you're just getting started, you might be wondering what to actually put inside your busy boxes. The great thing about busy boxes is that they can be customized to practice a variety of early learning skills.
Here are some simple and engaging busy box ideas for toddlers and preschoolers.
1. Letter Matching
Create a simple activity where children match uppercase and lowercase letters. This helps build early literacy skills and letter recognition.
2. Number Counting Boxes
Include number cards and small manipulatives (like pom-poms or buttons) so children can count out the correct number of items.
Example:
Number card: 5
Child places 5 objects on the mat.
3. Color Sorting
Provide colored circles or cups and have children sort small objects by color. This activity helps reinforce color recognition and categorization skills.
4. Shape Matching
Include basic shapes like circles, squares, triangles, and rectangles. Children match shape cards or place objects on the correct shape mat.
5. Beginning Sound Matching
Add picture cards and letter cards. Children match the picture to the letter it starts with.
Example:
B → ball
C → cat
This is a great introduction to phonics and early reading skills.
6. Fine Motor Tweezing Activity
Add tweezers or small tongs and have children pick up pom-poms or beads and place them into sections. This strengthens fine motor muscles needed for writing.
7. Pattern Building
Include pattern strips where children copy simple patterns like:
red, blue, red, blue
triangle, circle, triangle, circle
Patterning helps build early math and problem-solving skills.
8. Puzzle or Picture Matching
Cut pictures in half and let children match the two pieces together. This supports visual discrimination and problem-solving.
9. Playdough Shape Mats
Include laminated mats where children use playdough to form shapes, letters, or numbers.
10. Sorting by Size
Children sort objects into categories like:
big vs small
long vs short
This helps develop early comparison and classification skills.
✨ Looking for ideas to fill your boxes? Check out my Busy Box Activities for Little Learners for activity inspiration.
Tips for Rotating Busy Boxes
As your learners show that the activities they’re working on are getting easier, you can introduce a new activity or two for them to complete independently.
Eventually, they’ll build up to being able to complete all the activities in the box on their own. Many of the activities in the busy box bundle are similar from box to box, so hopefully your kids will understand how to complete the activities in the next box a little more quickly when you switch them out.
FAQ: Busy Boxes
What age are busy boxes for?
✨ Busy boxes work best for toddlers and preschoolers ages 2-5.
What do you put in a busy box?
✨ Busy boxes typically include matching cards, manipulatives, tracing mats, and sorting activities.
How many busy boxes should I have?
✨ Most parents start with 3-5 boxes and rotate them weekly.
I hope this was a helpful, step-by-step process for you to set up your own busy boxes at home or in your classrooms. These boxes make great independent work centers, small group activities, or simply a fun way for early finishers to stay engaged and learning!
Hope your little learners have so much fun with these!
Cheering you on!