


5 Ways to Use Centers in Your Classroom
Let’s talk centers for a minute here. Getting center time set up in your classroom with new students can be a time-consuming and very detail-oriented endeavor. It takes a ton of planning, resources, preparation, practice, and TIME to get this time really running smoothly in most cases. BUT, you finally have expectations set and being met (mostly), some great routines in place, and things are going along just swimmingly.
Then, one Thursday morning, you hear it for the first time this year…”Oh, THIS activity again. We already DID this one. I’m BORED.” UGH. The dreaded “we-did-this-before-I’m-bored” comment. As a teacher who’s working their TAIL off to plan for great center time every day, this is NOT the ideal comment. But, we’ve all been there, heard it, and started searching for the next great activity.
As the year goes on, it’s important to keep your activities fresh and engaging in order to keep your students motivated and learning. When I first started teaching, keeping things “engaging” normally meant hopping on TPT at LEAST once a week (if not more) to see what new centers or activities or worksheets I needed to buy to keep my kids entertained and learning for the next week or two. However, I soon found that this was not a habit I could financially keep up with. So, I got creative with the activities that I already had and here are the top 5 ways I used the same centers to engage my learners in the classroom!
1. Independent Work Centers
This one is obvious: using the centers like they’re intended to be used…as centers. Haha! This usually looks like a lot of printing, cutting, laminating, cutting, and organizing to get the centers ready. Then, explaining and modeling how to complete the activities before allowing students to spread out around the room and get started.
Many center activities that you buy will come with directions for set up and use of each center, so I’d definitely recommend starting by using the activity the way it was intended to be used. Easy button, yes?
2. Change the Directions
Another way I found to use the same centers again is to simply change up the directions for how the center will be completed. Sometimes, I would make the activity into some sort of partner game by adding dice, dry erase markers, and whiteboards by posting different directions. Or instead of writing answers, I’d ask students to write AND DRAW their ideas. Maybe I’d leave the answer key for the center out (without the assignment numbers or labels, of course) and have them search for the question that made the most sense for that answer and explain their thinking to a partner.
Honestly, check out your Bloom’s verbs and pick a challenging one that you think most of your students could accomplish and work it into your directions for that center. Don’t just match the cards, justify your thinking too! Don’t just list, illustrate and categorize too! I use THIS WEBSITE to help me write learning objectives sometimes and it works perfectly for writing new center directions too. :)
3. Add Movement by Working Around the Room
Many centers come with some sort of card or smaller piece that is needed to complete the activity. So, to mix it up if we were using the same centers for a few days or weeks in a row, I would simply change the location of those manipulatives. Instead of leaving cards in the same ziplock bag or plastic bin they’ve been in for the past 4 days, maybe hang the cards on the wall in one area of the room or dump them in a bag of pinto beans that kids have to dig around in to find the cards. If you’re blessed with a large classroom like I was, you can even spread the cards out in an entire area of the room so it’s a bit more like a hunt to find the next card before answering. This not only adds an element of newness to the activity, but also gives your learners the chance to move around a little more than they previously had been with this activity. Keeps them moving, learning, and enjoying it without even knowing it.
SIDENOTE: I’d highly suggest playing this idea up a bit too! If you teach little ones, tell them they’re going to complete this center, but today they’re pirates looking for treasure (the cards, ha!) before they can solve the problems! If you teach bigger kids, make it a friendly competition or give them a time to beat if they can handle that kind of excitement. Little things that YOU get excited about can be passed on and make THEM excited about it too!
4. Small Group Work
If you’ve already used your centers in a thousand different ways and you just have no more energy to put into creatively trying to make them work for another activity, bring them to your small group table! Small groups are all about teaching to and learning about a specific skill or level. So, pulling out materials that are mostly review at the start or end of a small group is not only engaging and fun, but also a great way to keep old concepts fresh in their minds.
Another benefit of pulling out an old familiar center activity for small groups is building up student confidence. For some students, working in small groups can feel really challenging because you’re meeting them at their current level, but hopefully you’re also pushing them a bit outside their comfort zone. So, pulling out an activity they’re familiar with and feel confident they can complete well is a great way to boost their confidence in their own abilities and still get in some great skill practice.
5. Add An Open-Ended Twist
This is one of my FAVORITE ways to change up center time activities: add an open-ended task! So, on the off chance that you don’t know what an “open-ended task” is, it’s a task that can be answered in a variety of ways, encourages independent and creative thinking, or can continue to be answered forever. Haha! Adding one of these kinds of tasks to the end of a center is a simple way to help the activity last longer AND challenge your students to use higher order thinking too.
EXAMPLES:
After you identify the beginning sounds of the pictures, draw as many objects as as you can think of that start with the same sound.
When you’re finished writing all the words from the cards around the room, use each word in a complete sentence. Try to see if you can use multiple words from the cards in those sentences!
After you solve each math problem, write a new problem that would have the same answer as the one you found.
These are just a few ideas for how you can add a little “extra” to a center to give it a new element, but any task you add on to the assignment that will challenge your students to think about the concept they’re working on in a new or deeper way is a GREAT addition! HERE are some open-ended word problems for math centers if you need some ideas for big kids. :)

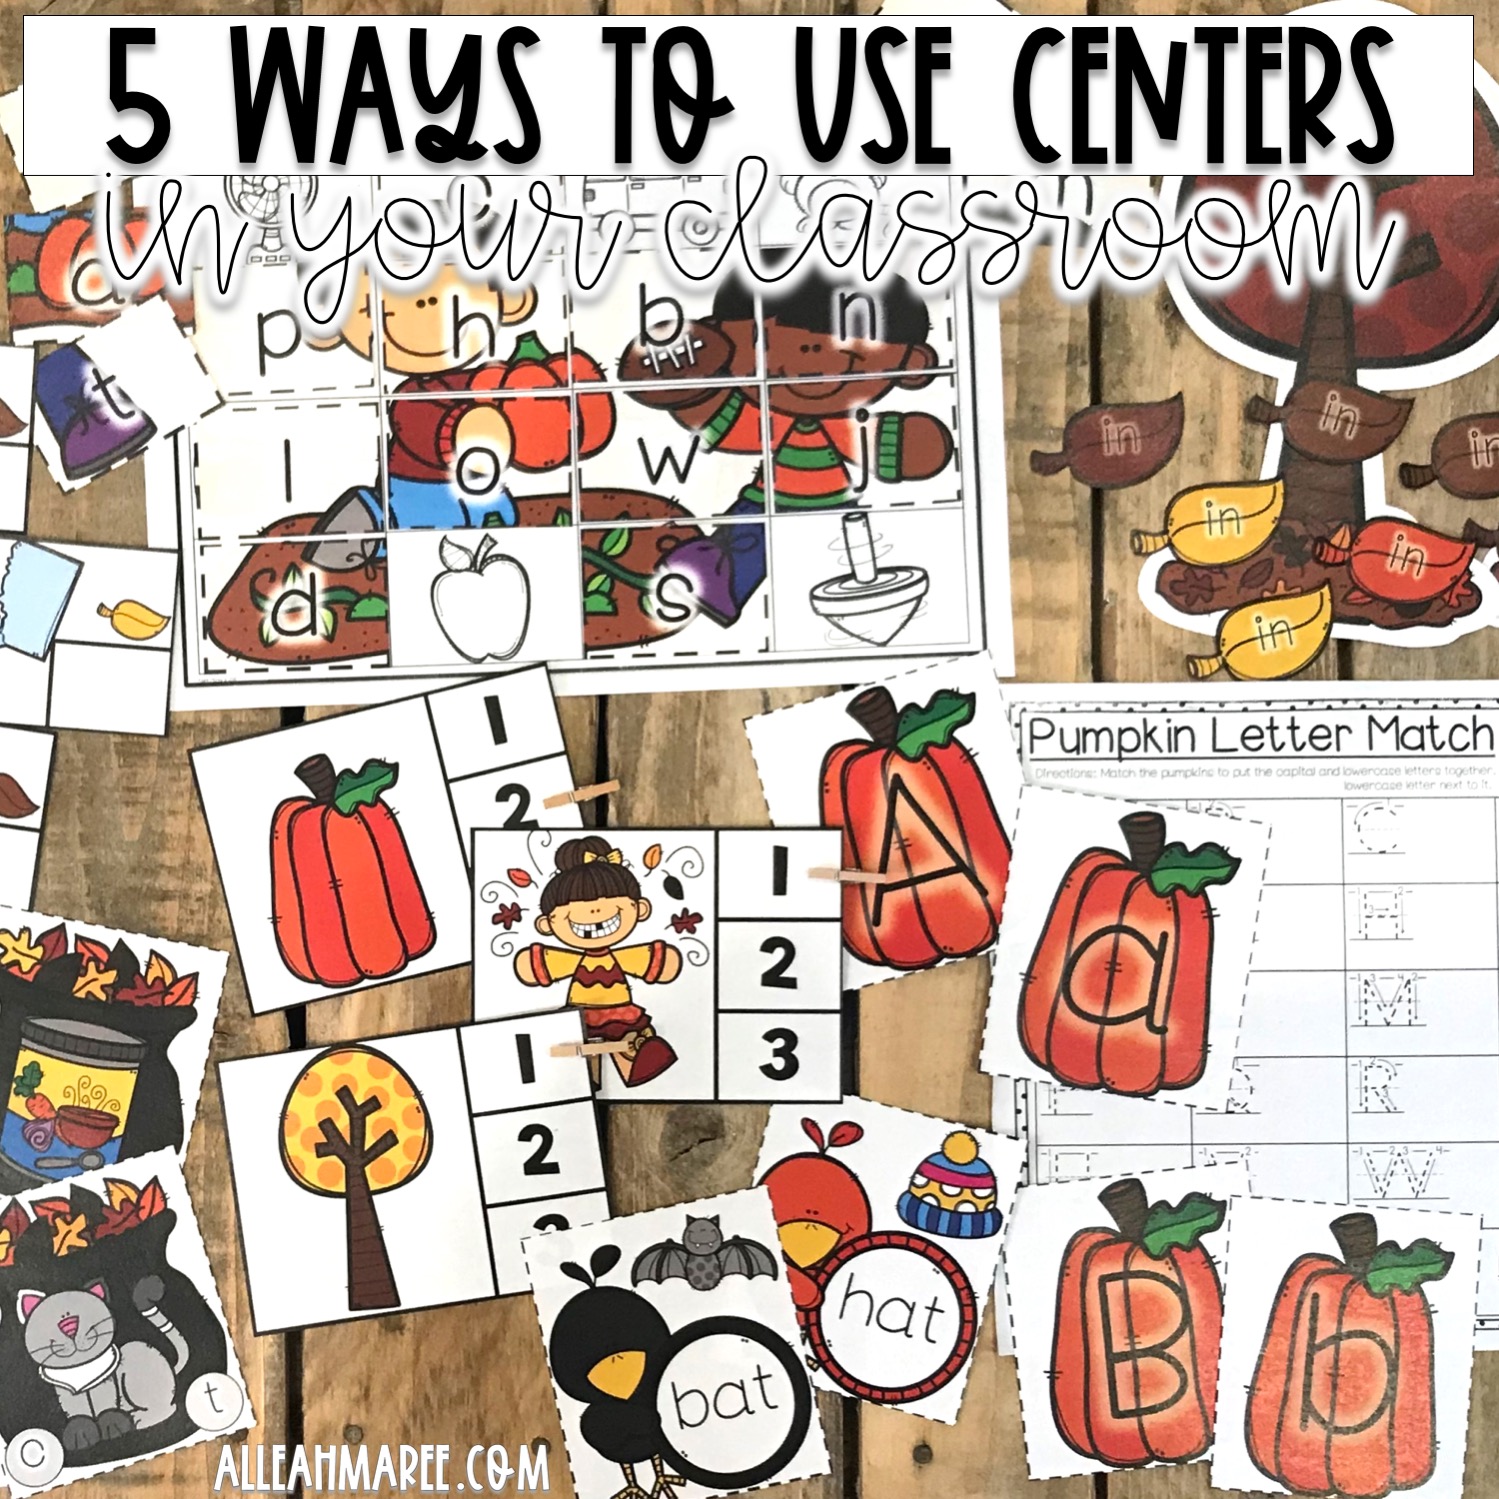
Listed below are some of my very favorite centers for primary grades:
You most definitely don’t have to try EVERY one of these ideas with the same centers all at once, but hope you found a least one to try soon so you can save some money and time by using the same centers in new, engaging ways. Happy teaching!
Cheering you on!


